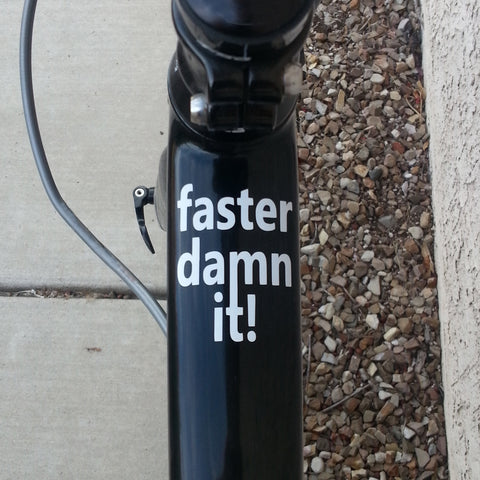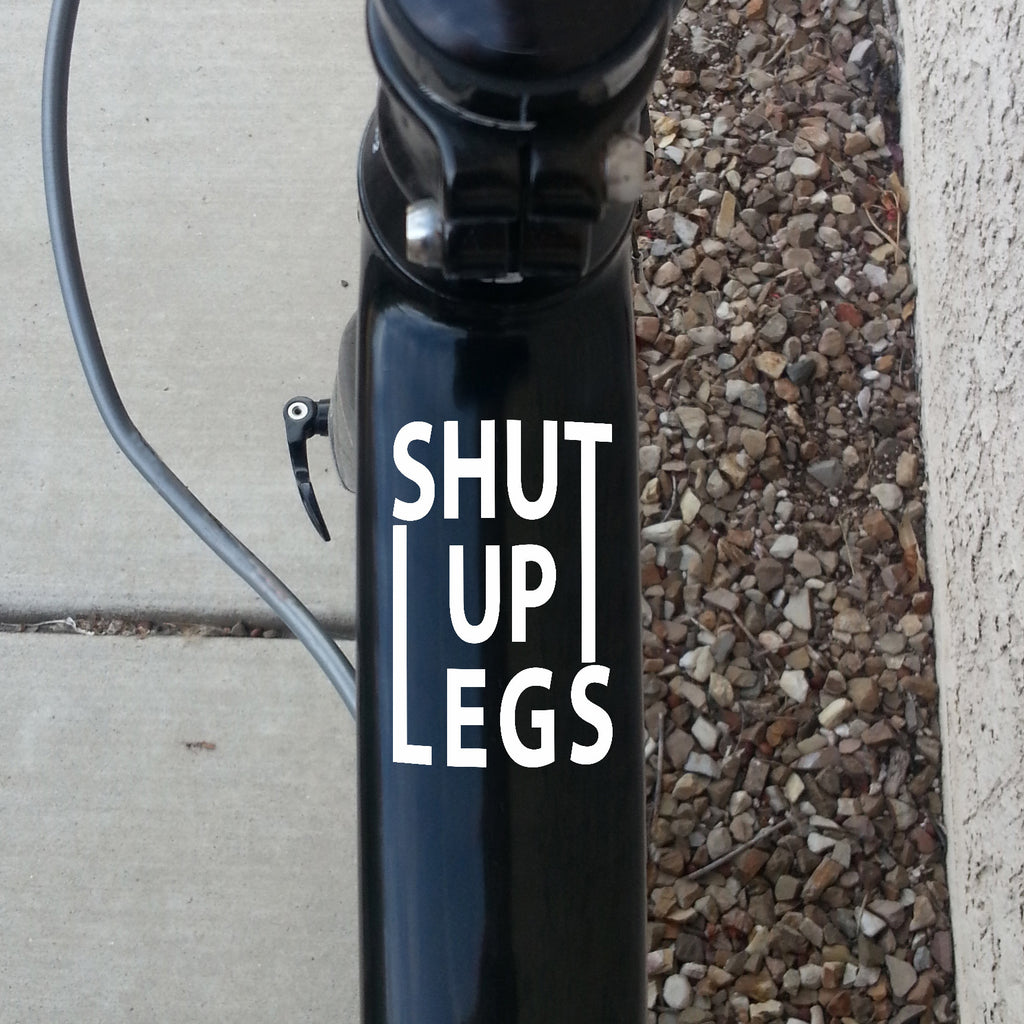


2 x Top Tube Decals. Shut up legs
$ 8.98
2 x Shut up Legs. Top Tube Decals.
- Free Shipping Worldwide!
- Ship next day!
-
Long Lasting, Weather and UV Resistant
-
1.25" in width (31.75 mm)
Introducing the "Shut Up, Legs" Top Tube Decal, a bold and motivational accessory for cyclists who seek to push their limits and conquer challenging rides. This stylish decal features the empowering phrase "Shut Up, Legs" in a sleek and eye-catching design, serving as a constant reminder to persevere through moments of fatigue and doubt.
Crafted with high-quality, weather-resistant material, this top tube decal is easy to apply and will withstand the rigors of your cycling adventures. It adds a touch of personality to your bike, reflecting your determination and grit as you tackle steep climbs and long distances.
Whether you're a seasoned cyclist or a passionate beginner, this "Shut Up, Legs" top tube decal is a source of inspiration and motivation, urging you to keep pushing forward and achieving your goals on the road. Embrace the challenge, silence those doubts, and let this decal be your companion on every ride, encouraging you to surpass your limits and reach new heights in your cycling journey.

Molteni Cycling Decals are not just a sticky label they are a high quality transfer product. To make sure they look as good on your bike as you want them to be, we have put together this short “How To” guide to help you.
- Make sure your frame is clean and free from dirt, dust and grease. If you have any, then clean the area with some Denatured Alcohol/Methylated Spirits and let it dry.
- Our Decals are made up of 3 layers; a carrier sheet, the Decal itself and a backing sheet.
- Gently peel away the backing sheet you’ll then see the Decal. Flip it over and notice the carrier sheet is slightly tacky, this will help you to position it before you make the final placement.
- Lightly place the Decal where you want it – Don’t press down too hard yet!
- Once you are happy with the position and that the carrier sheet is nice and smooth you can secure it with some masking tape if you want to.
- Now you are ready to transfer the Decal to your frame. Firmly press downward on the carrier sheet making sure not to dislodge it, gradually press all over the Decal to fix it to the frame.
- Now you are ready to remove the carrier sheet. Slowly and gently peel back the carrier sheet, keeping it at a tight angle, this will help to ensure the Decal isn’t pulled away from the frame. Keep peeling until the carrier is removed.
- Finally make sure the Decal is firmly stuck to your frame. You can use the backing sheet that came with the Decal with the shiny surface face down as a guard until you are happy it’s completely stuck down – pay attention to any pointed parts of the Decal so they don’t snag.
That’s it… you’re done
Courtesy of my friend Alistair Sawyer.
Customer Reviews
Based on 2 reviews
Write a review